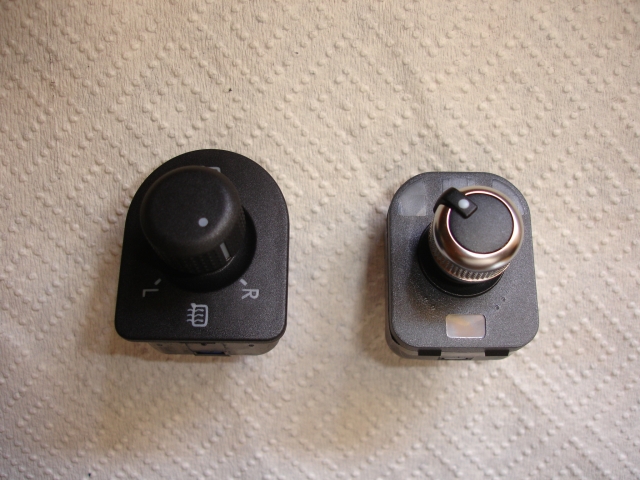
Firstly, note where the switch is pointed BEFORE you remove the knob. The Audi switch body and symbols are flipped 180 degrees compared to the VW switch.

I clamped the switch body in a bench vice with suitable padding. This allows you to pull hard enough by hand to remove the existing knob without trying to lever it off. It just pushes onto a square plastic joystick with a couple of locating projections, but it is fairly tight.
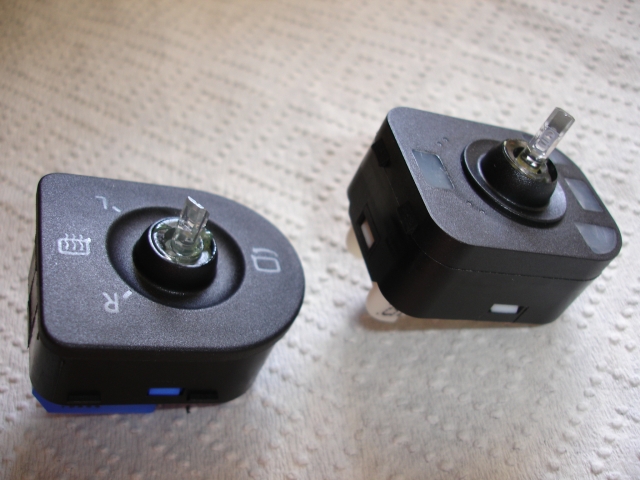
After you take off both knobs you will see that the Audi joystick is also mounted 180 degrees different to the VW one.
Take note of the orientation of the sloping face at the top of the joystick and which way the knob goes onto it to point to the position you noted previously.


They are very close to being identical , but not quite, so I elected to swap the matching joystick as well.
In any case you need to open up the switch to push the knob back onto the joystick fully, due to the spring loaded mechanism inside.
To remove the joystick just prise the switch body apart. The joystick sits in a hole in the middle of the printed circuit with a small spring and plunger on the bottom.

The middle of the joystick has two lugs that engage in the selector mechanism inside the top piece of the switch.
When you pull the switch apart take care that the selector housing mechanism parts do not fall out - they are spring loaded in place but could tilt or come out accidently.

When you swap the Audi joystick to the VW switch you need to turn it 180 degrees first and then everything should be able to be matched correctly.
You do not need to swap over the selector mechanism inside the top - only the joystick.
BEFORE reassembling the switch, you need to press the knob back onto the joystick.
Firstly remove the small plastic plunger and the spring from the joystick, then you will have a flat base to work with.
I found a suitably small block of wood that fit inside the switch top assembly, but also kept the lower edge of the switch face off the bench.
Place the wood on the bench, then stand the joystick and vertically on it, engaged in the top of the switch body.
The object is to just be pushing down on the joystick against the wood - the switch face is just in between and loose with no pressure on it.
You can then place the knob back on in the correct orientation and press down vertically on it until it fully engages again.
Now replace the small spring and plastic plunger inside the end of the joystick and clip the switch assembly together again.
The knob should now stop at each symbol correctly as you rotate it.
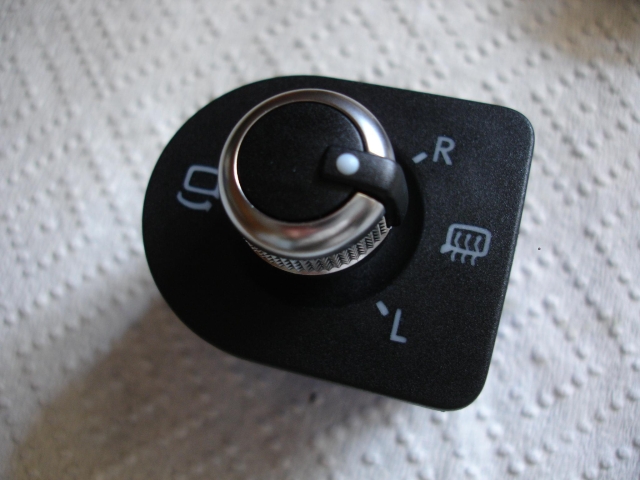
Admire your new brushed alloy effect mirror control which is now ready to install in the VW door trim.

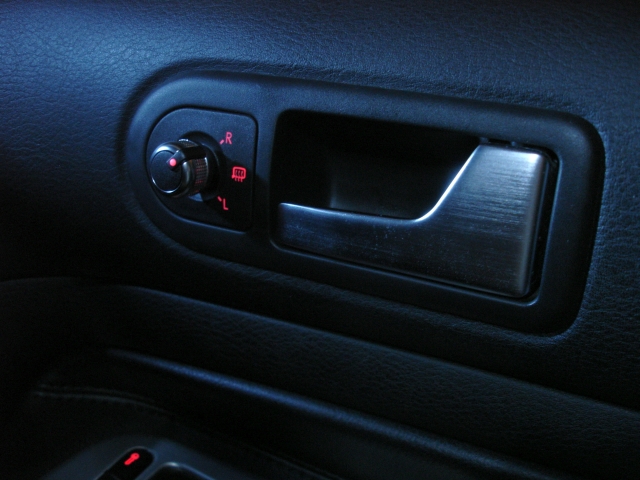
Mirror switch installed.


