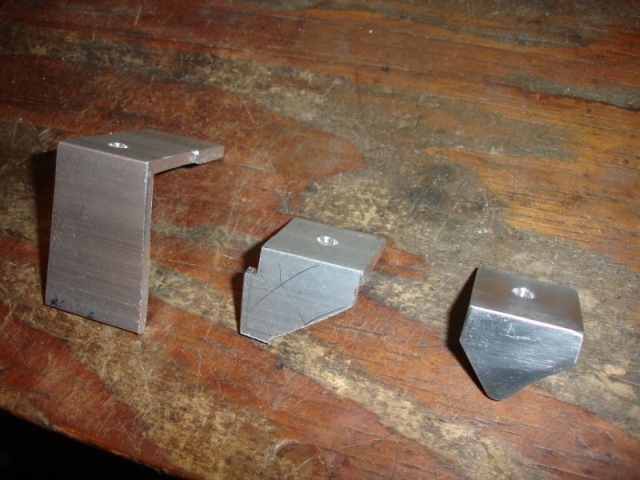
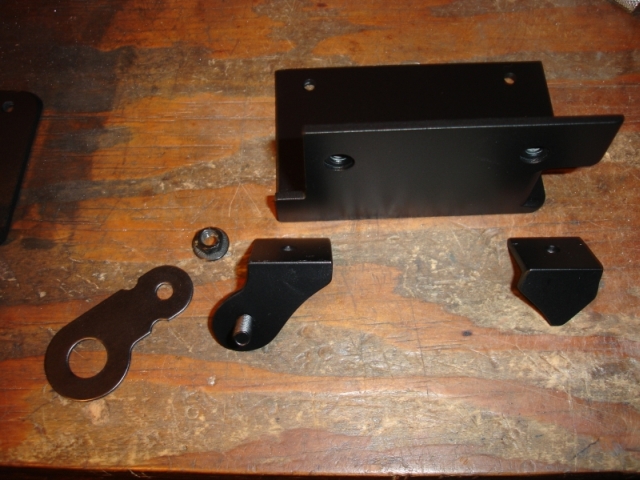
I made up two brackets from some 3mm thick aluminium right angle bracket. Two 3mm spacers on each side are also needed to clear the top curvature of the Fog Light housing.
Euro Bumper Bracket Dimensions
I made the spacers out of angle as well to stop them spinning when they are tightened down.
This is how I formed the spacers from raw material:

The rectangular brackets have to be trimmed to clear various obstructions in the bumper when they are mounted, such as the grill clips (refer to attached measurement sheet for clearancing required). Brackets have two nutserts included for the mounting bolts, which are some spare sump bolts I had lying around.
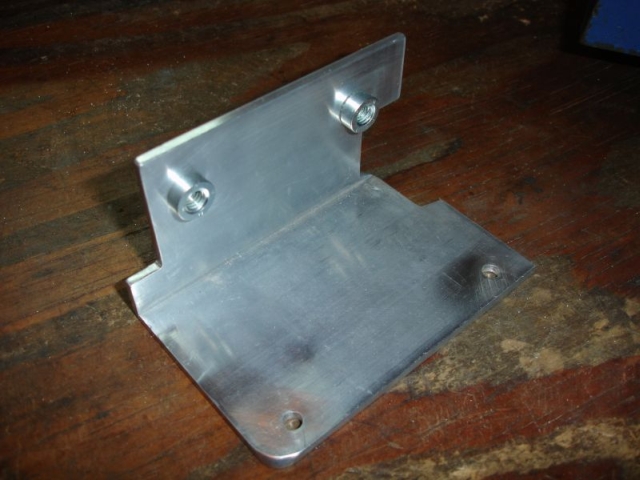
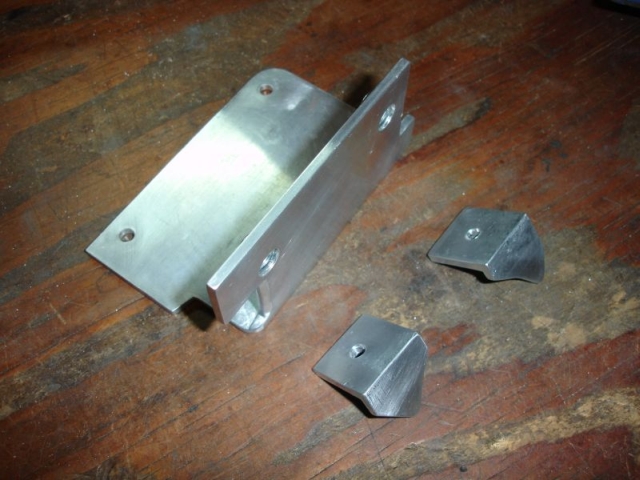
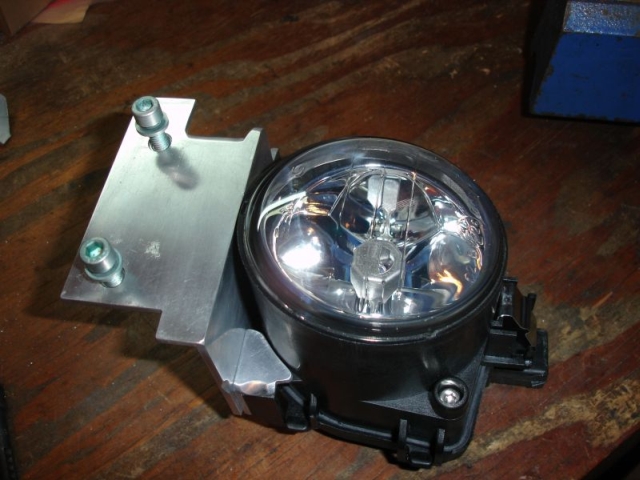
Here are both sides ready to mount:

This picture will assist in positioning the brackets. This is the left side where the horns are mounted:

Note: The bracket dimensions I have quoted above only fit on a Euro rebar. The US market rebar is completely different as you can see:
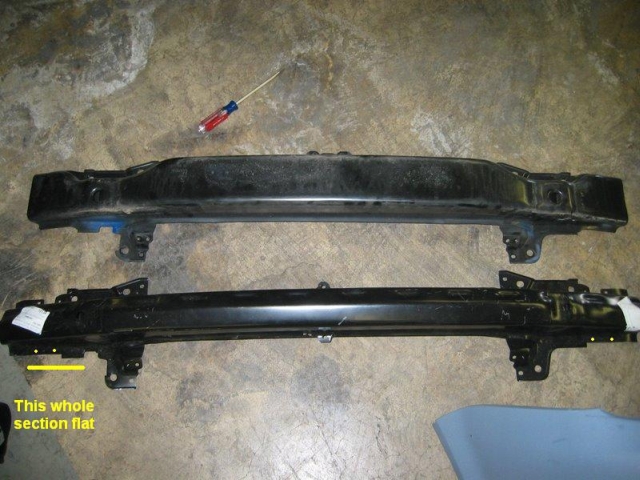
The yellow dots are the approximate location of where I drilled the holes for the brackets.
On the Euro bar that section of the flange is completely flat where the bracket bolts up against it (see other photos above for closer details)
The end just starts to curve back in the last 50 mm or so of the very end.
Before installing Fog Lights and refitting the bumper, the original Outside Air Temperature mount needs to be ground away for clearance of the Fog Light housing.
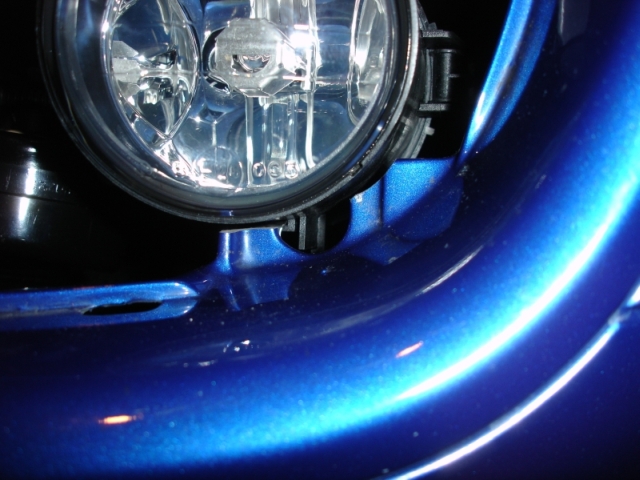
Also the horn brackets need some modification to clear the Fog Light as well, either by judicious bending or replacement.
The lower horn bracket can remain, but may require very slight bending.
I replaced the upper horn bracket with a different version off a TDI. This moved the top horn well out of the way of the bracketry (this is actually the lower bracket off the TDI, but placed in the top position on the .:R32)


You may also need to rotate the horns on the brackets slightly to reposition the trumpets to clear the Fog Lights. This is the final position that worked the best and cleared everything:

Mounted in car - left side:


Right side:

Test fit with bumper back on:

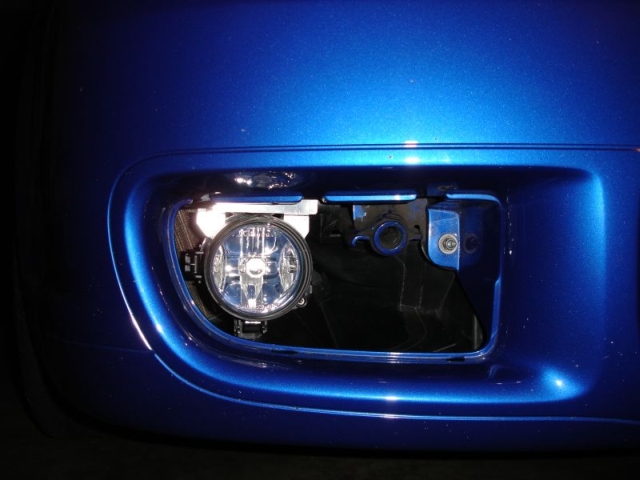
As you need to cut away the original mounting point on the plastic bumper, I further modified one of the spacers to add a proper mount for the Outside Air Temperature Sensor, using a bolt-on metal bracket off a Škoda Fabia
Modified and painted brackets:
Close-up of sensor mounted:
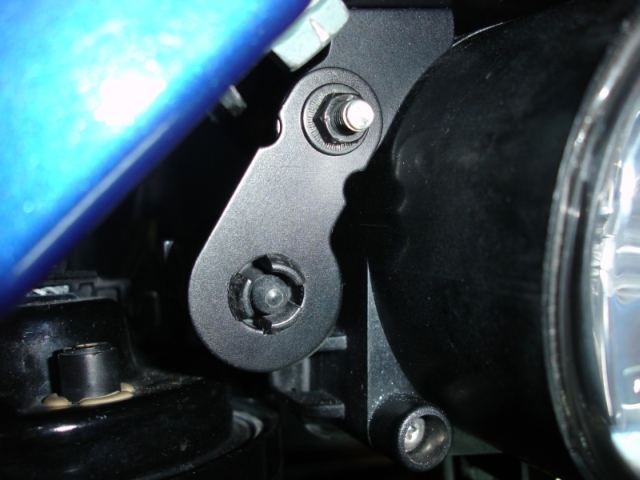
Mounted behind grill with direct air flow available to sensor:

There is quite a bit of play in the bolt holes securing the rebar to the chassis rails etc. The rebar itself can be moved around slightly to tweek the alignment of the Fog Lights in the air intake grills.
One light initially sat 3mm higher in the grill with identical mirror imaged brackets, so I just loosened the rebar off and moved its position slightly. Now everything sits perfectly square.
Once the rebar is in the correct position, spray a light coat of paint over the bolts to mark their positions in case the rebar needs removing later for servicing etc. This will assist in repositioning the rebar again so the Fog Lights line up correctly when you refit the bumper.
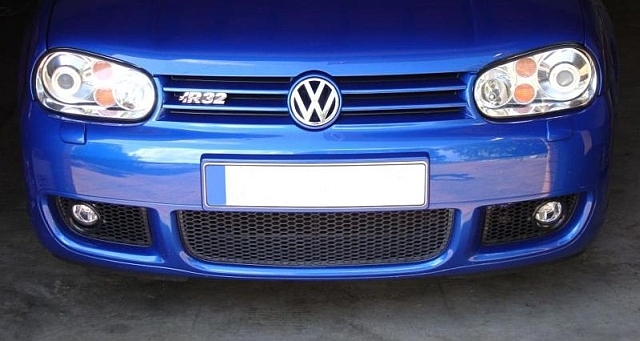
Fog Lights and intake grills fully mounted:
Go
here for factory Fog Light wiring schematic
(Fog Lights will go OFF when High Beam selected). European R32's with Xenons fitted will also need a new Headlight Switch with the extra Front Fog Light Switch - perhaps time to upgrade to a
6R Polo Headlight Switch?


 Go
Go