A wire needs to be run from one side of the car to the other, so various items of trim need to be removed to route the wire. At the very least you will need to remove both interior door panels and the two lower A-pillar kick panels. Depending on how you want to run the wire across the car, you may also need to remove trim panels from the lower dash. I have not detailed the specifics of removing the trim, knowledge of which is freely available on the internet.
Driver's Door

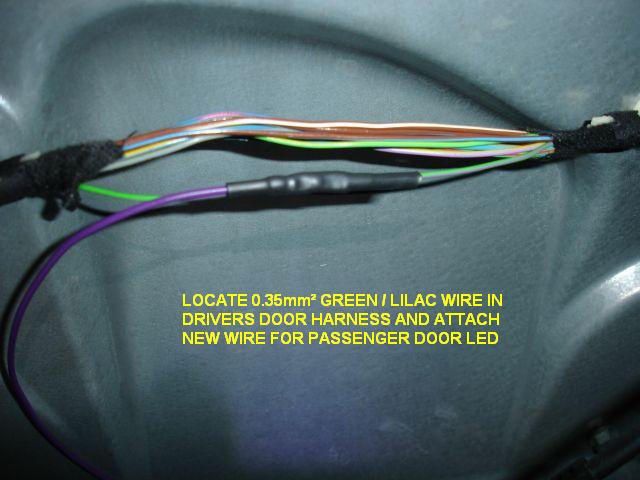
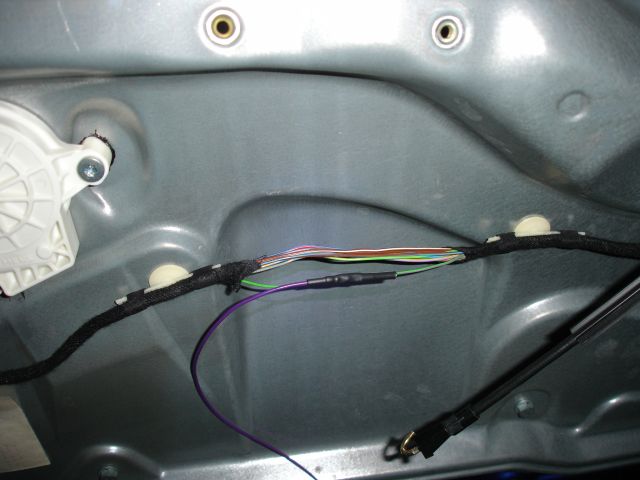
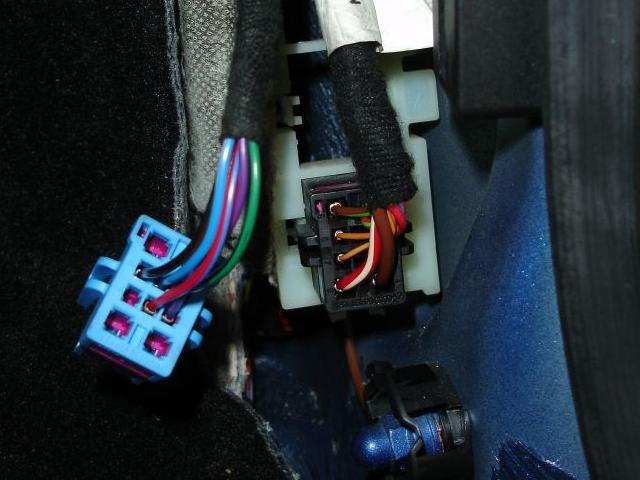
Locate wire plug to existing LED. You will be tapping into the POSITIVE feed which is the 0.35mm² green / lilac wire going to Pin 2. (For information purposes only, the Earth wire is a 0.35mm² brown / blue wire). The positive wire in the door harness only runs between Pin 2 of the LED plug and up to Pin 26 of the 29-pin plug (-T29-) going into the electric window module. You may tap into this wire at any point. I chose to unwrap the piece of harness directly in the middle of the door panel as it allows some good length to work with to connect a new wire.
Run your new wire through the rubber bellows to the lower A-pillar area. As I was also installing Folding Mirrors and Škoda Puddle Lights, I required quite a few extra wires into the door for these as well. Therefore, I elected to add an additional plug connection in the lower A-pillar area. If you are just running this one additional wire, there should be a spare vacant position in the existing black plug that you may utilise.
Run wire across dash to the passenger A-pillar and secure in your chosen manner (similar to the driver's side).
Passenger Door
Run POSITIVE feed coming from driver's door through passenger door bellows into Pin 2 of your new LED plug. Position your new two pin plug for the LED in similar position to the driver's side.
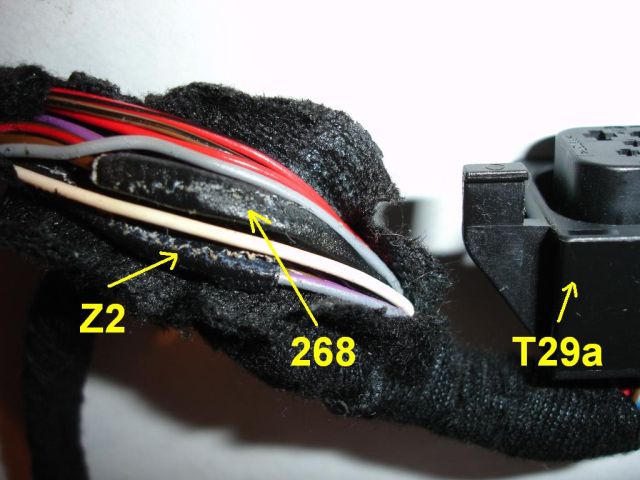
I connected the NEGATIVE of the new LED in a similar manner to that of the existing driver's side harness. That is, I did not just directly connect the negative wire to a metal earthpoint in the door. I connected the negative into the existing earth connection in the door harness itself. In the wiring diagram it is called "-268- Earth Connection -2-". This earthpoint is approximately 9cm from the mirror plug connector -T12a- (heading back towards the electric window module). At this point you will find a 0.5mm² brown / blue wire which joins to a 1.0mm² brown / blue wire and a 0.5mm² brown wire. It is wrapped in black duct tape inside the main cloth wrapped harness. CARE - there is also another connection point -Z2- which is very close to this earthpoint inside the harness - do not confuse them! For your information, these wires are grey / lilac.
You may wish to test your installation at this point before permanently re-installing the trims. Both doors need to be closed, of course, for the alarm to arm correctly.
WARNING - this may prove difficult as the doors will not shut properly with the door trims hanging. They may be damaged against the end of the dashboard or the seats! Be very careful!
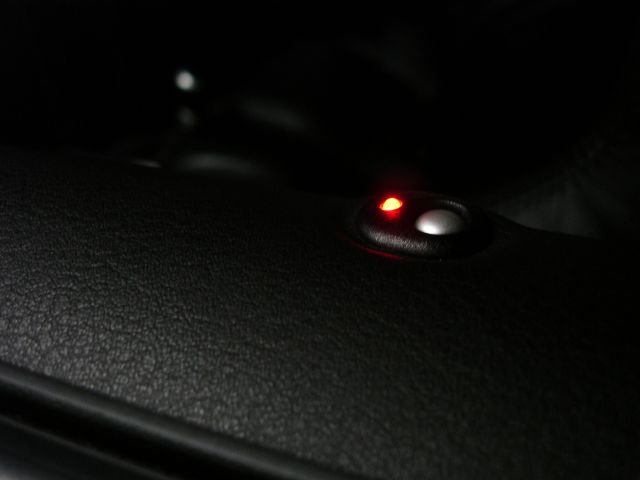
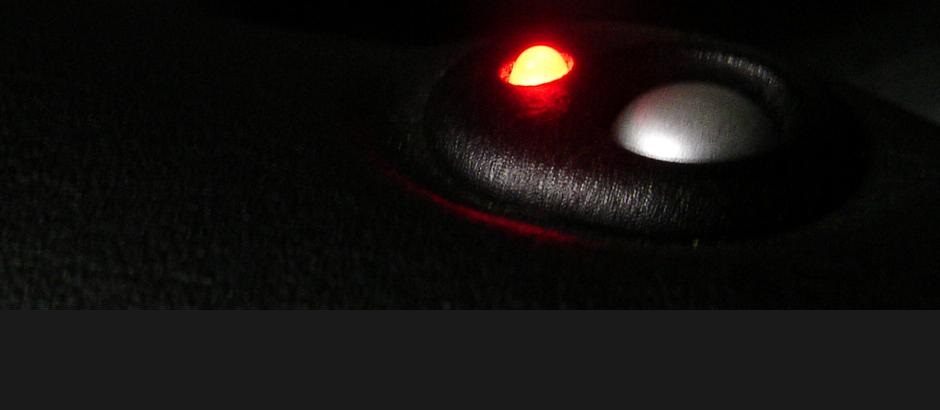
Final install looks like this. Picture also shows New Beetle Turbo S Alloy Door Pin installed. (Also note high-tech action shot of LED flashing!):